Showing posts with label Dessert. Show all posts

Wednesday, June 11, 2014

Amish Friendship Bread

A friend from my church brought over a cute little loaf of Amish Friendship Bread and a starter bag for me. And I ate the whole loaf that night. My husband didn't even get any. It was so delicious and I knew I must have more. So I went for it. After the 10 days I dutifully divided up my starter, made my bread (with a few variations) and then gifted my new starter bags to family. Life was wonderful. And I am sure many of you who have done this whole process are shaking your heads and laughing at my niavete of the whole process. Just you wait Cynthia, this delicious bread is crazy and will take over your life! Get out while you can! But guess what? 

Amish Friendship Bread doesn't have to be crazy! You can forget to mash your bag a few times, you can add ingredients a day late, you can stick your starter in the freezer if you need a break! I promise it won't kill it! So dive in and give it a try! Research online for variations, ideas and information, it is kinda fun. 

Also check out this link from my sister in law about controlling your bread. It was great. 
http://makeitfromscratch.blogspot.com/2009/01/take-control-of-your-amish-friendship.html


Traditional Amish Friendship Bread Instructions

Day 1: Friend gives you a starter bag! Lucky you!
Day 2: Stir the mix, or mash the bag.
Day 3: Mash the bag
Day 4: Mash the bag
Day 5: Add to your bag: 1 cup flour, 1 cup sugar, 1 cup milk. Mash the bag. 
Day 6: Mash the bag
Day 7: Mash the bag
Day 8: Mash the bag
Day 9: Mash the bag
Day 10:  The day has arrived! Do all this:
          Add to bag: 1 cup flour, 1 cup sugar, 1 cup milk. Mash the bag
          Divide mix: Measure 1 cup of mix in to 4 bags (3 for friends, 1 for you) . Label bags and add the date. 
          Make bread: Pour remaining mix in to a NON METAL bowl and follow the recipe below.

Basic Recipe:
2/3 cup oil
3 eggs
1/2 cup milk
1/2 tsp. salt
1 tsp. vanilla
1 to 1 1/2 tsp. cinnamon
1 cup sugar
2 cups flour
1 1/2 tsp. baking powder
1/2 tsp. baking soda

1 box Instant Vanilla Pudding (optional, but totally delicious. If you don't use the dry pudding, just omit the milk)
Using NON METAL spoon, beat by hand until well blended. 
In a seperate bowl, mix 1/2 cup sugar and 2 tsps cinnamon. Grease two loaf pans or line with parchment paper, dust pans with cinnamon sugar mixture. Pour batter in to pans and sprinkle with remaining cinnamon sugar. 
Bake at 325 degrees F for 45 minutes to 1 hour (individual oven temperatures vary). Cool 10 minutes, remove from pans. Makes two loaves of Amish Friendship Bread.
See? Not to bad. But again, don't worry if you can't follow the instructions to a T. 

Wednesday, April 2, 2014

Honey Almond Chia Seed Pudding with Strawberries


I first had this little guy at a work retreat.  One of our chefs brought it as an example of a creative way to use a healthy grain. She gave a presentation about how to use quinoa in salads and incorporating millet and farro in soups and such. It was a cool presentation, but this visual aid was my favorite. And the best part? It is so stupid easy to make. 


Chia seeds do this really cool thing when they get wet. They expand and form a jelly like coating that instantly thickens whatever they were added to. I love them in my smoothies or you can even add them to plain water. They remind me a bit of tapioca, so if you are not a tapioca pudding fan, you probably wont like this. Just a heads up. 


And like with most of my recipes, it is easily adapted to fit your dietary needs and taste preferences. But here is how I made it, and it turned out delicious. 


Ingredients:
1 cup Honey Greek Yogurt (I recommend Greek Gods brand)
3/4 cup Vanilla Almond Milk (unsweetened)
2 Tablespoons whole chia seeds

1/2 cup sliced strawberries
1 Tablespoons honey
2 Tablespoons sliced/slivered almonds

Directions: 
Combine yogurt, milk and chia seeds in bowl. Mix well and let sit for 10 min. In a separate bowl toss strawberries and honey and let sit. When ready to serve, spoon pudding, strawberries and almonds in to a bowl, parfait style if you want. Enjoy!


Thursday, November 28, 2013

Caramel Apple Pie Bars


I am not much of a cake fan. I mean, it's ok. And I will eat it. But given a choice, I would probably choose brownies, or ice cream, or cookies, or pie, or pretty much any another dessert. When I was little we had Pumpkin Pie for my birthday one year. And instead of a wedding cake, we had Dutch Oven Peach Cobbler. Last week was my birthday, and my mom made me these incredible Caramel Apple Pie bars while we were out for a visit. It's like an apple crisp but easy to eat, and even tastier.

The recipe takes a little while, but it is so worth it. Feel free to double any part of the recipe if you like more apples, more caramel or more crust.


Caramel Apple Bars

1 cup packed brown sugar
½ cup butter or margarine, softened
¼ cup shortening
1 ¾ cups all-purpose flour
1 ½ cups quick-cooking oats
1 teaspoon salt
½ teaspoon baking soda

4 1/2 cups coarsely chopped peeled tart apples (3 medium)
3 tablespoons all-purpose flour
1 bag (14 ounces) caramels
(I just made my own caramel sauce: ½ cup
evaporated milk, ½ cup brown sugar, ½ cup butter cook over medium-high
heat stirring constantly until the temperature reaches soft boil stage OR it is
yummy to double this!)

Directions

Heat oven to 400ºF. Mix brown sugar, butter and shortening in large bowl.
Stir in 1 3/4 cups flour, the oats, salt and baking soda. Reserve 2 cups oat
mixture; press remaining oat mixture in ungreased rectangular pan, 13x9x2
inches.
Toss apples and 3 tablespoons flour; spread over mixture in pan. Heat
caramels over low heat, stirring occasionally, until melted; pour evenly over
apples. Sprinkle with reserved oat mixture; press lightly.
Bake 25 to 30 minutes or until topping is golden brown and apples are
tender. Can be eaten warm with a fork, or chill and eat as a bar. Store covered in refrigerator.

Sunday, March 10, 2013

Peanut Butter Bars


I have never been a huge PB bar fan. I mean, they were fine. Just not my favorite. But this recipe converted me. My mother in law made these a couple weeks ago and I think I ate half the pan. I asked for the recipe to use in a cooking group at my work and have made it twice this week now. I learned some valuable things each time I made them. I will share my mistakes with you so that yours are fabulous. 


Mistake #1. Cool the peanut butter bars completely before frosting. Not just not hot. They guys should be cold if possible. Stick it in the fridge or freezer for an hour kind of cold. Otherwise you will get a melted peanut buttery mess. 

Mistake #2 Use smooth peanut butter. I guess if you really love the crunchy variety you can try that. But I really think it messes with the consistency of the bar. Just keep it smooth. The bars pictured here have crunchy PB, but again, I recommend the smooth. 

Mistake #3 Do not overcook! This was even written on the recipe and I still messed up! They seem too underdone after 13 or so minutes and I thought another 5 minutes would just firm them up a bit. Which it did... but it also majorly dried them out. I wouldn't let anyone eat the edges because they were so crumbly and dry. They bars are meant to be so soft and melt in your mouth. So really, don't go over 15 minutes. 


Kayla's Fabulous Peanutbutter Bars
1 ½ cups brown sugar
1 cup white sugar
1 ½ cups softened butter
4 eggs
1 Tbsp vanilla
1 cup smooth peanut butter
1 ½ tsp. baking soda
2/3 tsp. salt
3 cups flour
3 cups rolled oats

In a mixing bowl, cream sugars and butter until fluffy. Add eggs, vanilla and peanut butter, mix until smooth. Add baking soda, salt, flour and oats and mix until totally incorporated. Spread on greased cookie sheet. Bake at 350 for 11-15 minutes. Don’t overbake! They should be barely browned on top. These are meant to be very soft. Let cool completely. Smooth 1/2 cup to 1 cup peanut butter over bars. Spread chocolate frosting on top of peanut butter and enjoy!

Chocolate Frosting
2 ½ cups powdered sugar
¼ tsp salt
¼ cup dry cocoa

1/4 cup white sugar
2 Tbsp water
1 egg
1/2 cup soft butter

Put first three ingredients in a mixer (I love my Bosch). Put ¼ cup of granulated white sugar in mug. Add 2 TB water, and microwave for 60 seconds, until the sugar is fully dissolved and you have a thick syrup. Now timing is everything. Turn on the Bosch, and quickly break one egg into the spinning powdery mess. Quickly pour in the hot syrup. Then throw in a cube (1/2 cup) butter. Then pour in 1 tsp vanilla. Scrape down the sides of the bowl, and whip until creamy and blended. Spread over peanutbutter bars for a yummy treat! 

Sunday, March 3, 2013

Banana Cream Pie Crepes

I love random holidays. Especially the ones involving food. It's like your week's menu was planned out for you by the universe. I mean, once you know March 2nd is Banana Cream Pie Day, how can you not make a Banana Cream Pie?


Except I didn't feel like making a pie crust. So I got creative and made these Banana Cream Pie Crepes. Pretty genius, I know. They were a big hit with the boys (no surprise there when you serve dessert for breakfast). 

And they are super easy. Crepe, sliced banana, vanilla pudding, whipped cream. 


Here is the crepe recipe I used. I liked it. I don't know if it is the very best one out there, but it worked. 

1 cup flour
2 eggs
¾ cup milk
½ cup water
¼ tsp salt
½ tsp vanilla
2 Tbsp melted butter

Combine all wet ingredients, except butter. Sift in flour and salt and whisk until smooth. Add butter.
Heat a lightly oiled griddle or frying pan over medium high heat. Pour or scoop the batter onto the griddle, using approximately 1/4 cup for each crepe. Tilt the pan with a circular motion so that the batter coats the surface evenly.
Cook the crepe for about 2 minutes, until the bottom is light brown. Loosen with a spatula, turn and cook the other side. Enjoy with any variety of toppings. 


Monday, February 4, 2013

Jello Pretzel Salad

I never understood how jello could fall into the "Salad" category. Salads are made with leafy greens, or if you are extra cool they are made out of fruit. But jello? Come on.


Nonetheless, this recipe is most commonly known as the "Jello Pretzel Salad" and it is delicious. I shall also have you know this is the first time I have ever bought Cool Whip. I grew up in a house where everything was "real" and fake things (margarine, cool whip, spray cheese and the like) were not allowed in. So I had quite the moral dilemma at the grocery store trying to decide if this recipe could use real whipped cream. As I was making the dish for a dinner party, I decided not to risk it. If anyone has tried using real whipped cream, please, let me know your results. While the dish turned out delicious and was a big hit, I think it could be even better, so check out some of the notes at the end.


Jello Pretzel Salad

Crust:
2 cups crushed pretzels ( blended in blender until desired consistency)
3 T brown sugar
3/4 cup melted butter
Combine all ingredients and press into 9x13 pan. Bake at 350 for 10 min. Let cool.

Cream Filling:
8oz cream cheese (soft)
8oz Cool Whip
1/4 cup honey - see I am being healthy
Whip together and spread over cooled crust, being sure to get it all the way to each edge (to protect the crust from the jello).

Jello:
2 packets (3oz each) of jello (raspberry or strawberry)
1 bag frozen fruit- sliced strawberries or rasperries (optional)
Make jello according to directions, adding fruit at the end. Let jello cool slightly in the fridge, until it has thickened to the consistency of egg whites. Pour over cream filling and let entire pan set in fridge for 4 hours.

NOTES:
1. Ok, those crust amounts make a whole lot of crust, which is great if you are into that kind of thing. If you are not a crunchy lover or like a little less crust, it would be ok to half it.

2. I loved that cream filling. I think I might try doubling it next time.

3. Add the fruit. I didn't when I made this one because I didn't have any, but I think it would have made it extra delicious.


Tuesday, January 29, 2013

Thin Mint Cupcakes

Chocolate and mint are such a great combination. Peppermint patties = awesome. Mint Hot Chocolate = delicious. Thin Mints = wonderful. See, you can't go wrong. And these cupcakes are here to prove it.


Mint Chocolate Cupcakes with Chocolate Mint Buttercream

For the cake:
3/4 cup flour (heaping)
1 cup sugar
1/4 cup cocoa
1 tsp baking soda
1/2 tsp baking powder
1/2 tsp salt
1/2 cup buttermilk
1/4 cup vegetable oil
1 egg
1/4 tsp vanilla
1/2 tsp mint extract
1 cup boiling hot chocolate (we used mint flavored)

For the frosting:
1/4 cup shortening
1/4 cup butter (just softened)
2 cups powdered sugar
1 Tbsp heavy whipping cream (or milk)
1/2 tsp vanilla
1 tsp mint extract (add more or less depending on how strong you want the minty flavor)
1 1/2 Tbsp cocoa

4 Thin Mints or Grasshopper Cookies (for crumbling)

Preheat oven to 350 degrees F. Line muffin tin with paper baking liners. Do not attempt to bake straight in pan, this cake will stick.

Sift together dry ingredients in electric mixer. In separate bowl, combine wet ingredients EXCEPT hot cocoa. Slowly stir wet ingredients into dry until just combined. Add boiling hot cocoa slowly until batter is uniform and very runny. Don't worry, it will bake just fine. Spoon batter into prepared muffin tins, filling 3/4 full. Do not overfill, they will make a mess in the oven.

Bake for 35 to 40 min until toothpick inserted comes out dry. Remove from pans and let cool on cooling rack.

For frosting: combine shortening and butter in electric mixer and whip until light and fully. Alternate adding milk and sugar until frosting is fluffy and slightly stiff. Add cocoa, vanilla and mint extract. Mix thoroughly. Spoon into pastry bag and frost cooled cupcakes. Crumble cookies until they are a rough powder and sprinkle on top.

Enjoy!

Wednesday, November 28, 2012

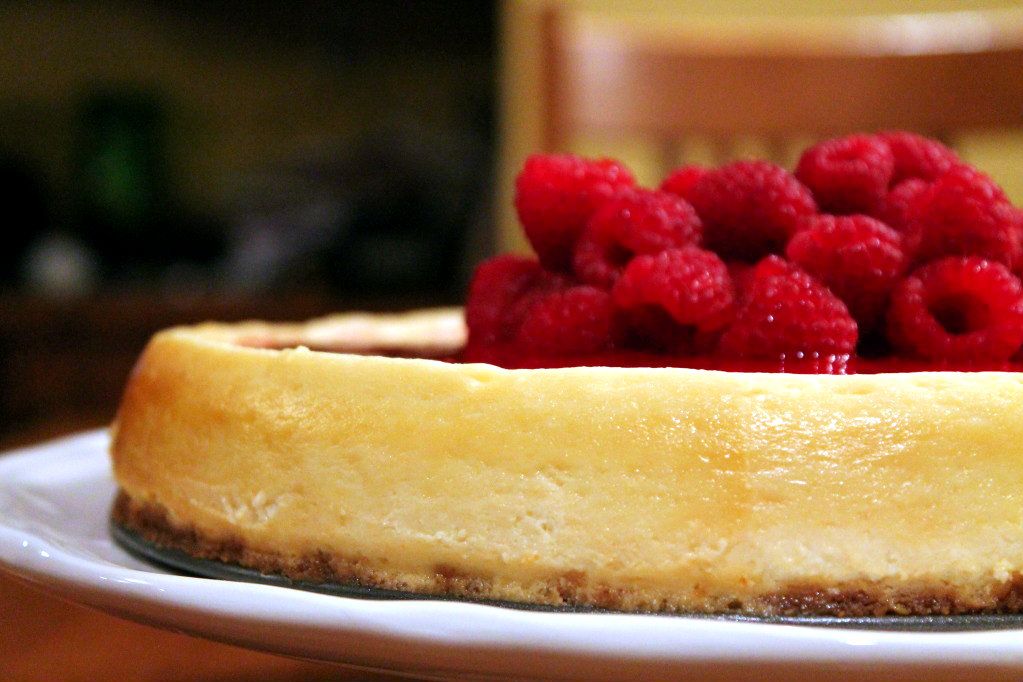
Simple Cheesecake

I'm not really a huge cake fan. I will eat it at a party, and I will even make it on occasion, but if given the choice I would go with a brownie, ice cream or pie. For our wedding we had peach cobbler instead of a wedding cake. When I was a kid I used to ask for pumpkin pie for my birthday, we would put candles in it and everything. And this year, I made a cheesecake for the special day. 


I looked up all sorts of recipes online, each claiming to be the best or most authentic in the New York style. But I ended up going with a recipe my mom had. It was simple, easy and delicious. 


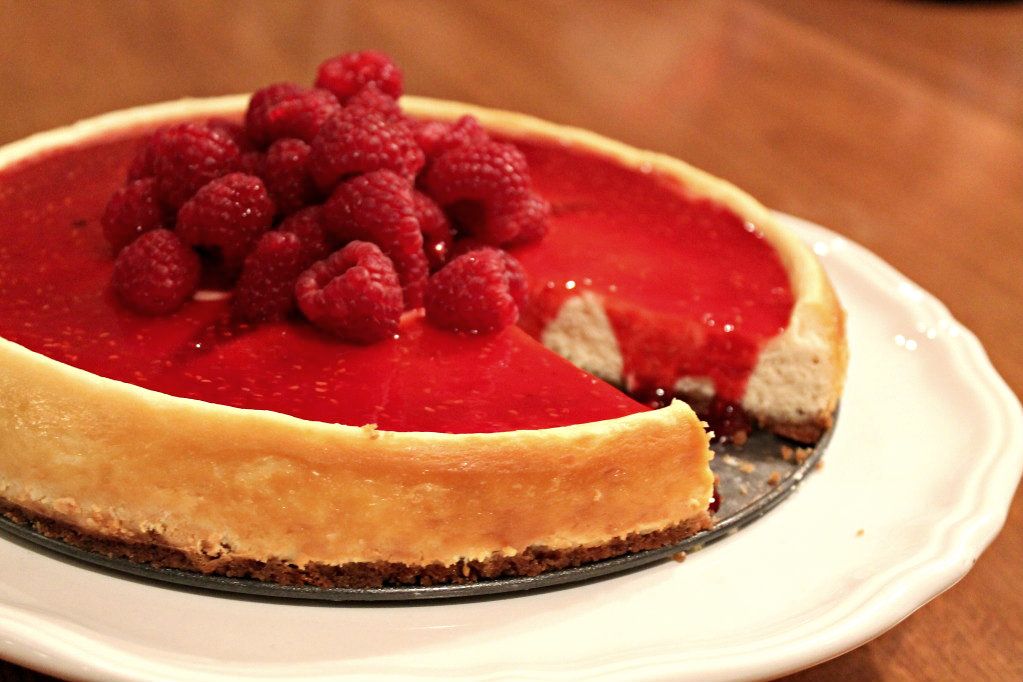
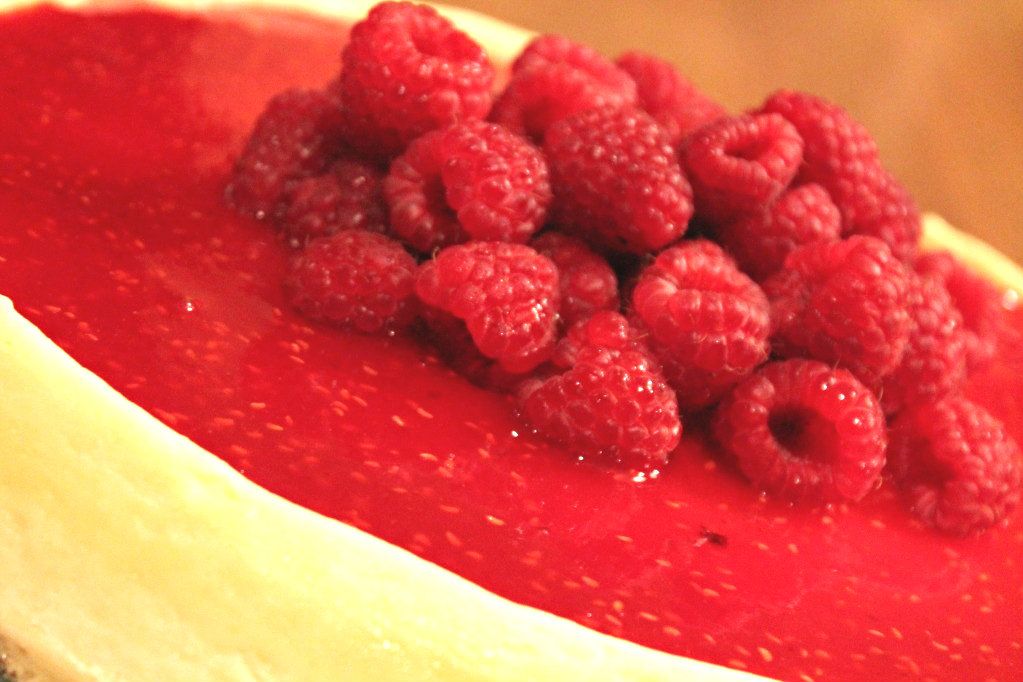
Cheesecake can be a little intimidating. It seems so fancy, and some recipes require a lot of careful work. But this one is totally doable. And if you do mess up, it's not the end of the world. There were 2 cavernous cracks running through the cheesecake when I let it cool, hence the sauce and mounds of raspberries. But no one would have known, until I told you just now. 


Simple Cheesecake with Raspberry Sauce
Crust
2 tablespoons sugar
1 1/2 cups graham cracker crumbs
4 ounces butter or margarine, melted

Filling
1 cup granulated sugar
3 pkgs. (8 oz. each) cream cheese, softened
1 teaspoon vanilla extract
2 eggs
1 8-ounce carton of sour cream

Sauce
2 cups raspberries (1 cup pureed in a blender, 1 cup fresh for topping)
½ cup sugar
1 Tablespoon cornstarch
2 Tablespoons lemon juice

Instructions:
Combine graham cracker crumbs with 2 tablespoons of sugar and the melted butter or margarine. Press into the bottom of a springform pan. Set aside.
Cream the softened cream cheese with the sugar and vanilla extract. Add the eggs one at a time, beating thoroughly after each addition. Add the sour cream, which should be at room temperature.Pour into graham cracker crust. Bake for half an hour at 350 degrees F. Turn off the oven, leaving the cheesecake inside for another half hour. Chill and refrigerate for at least 4-8 hours.

In a saucepan, combine sugar and cornstarch. Add lemon juice and one cup of raspberry puree, turn heat to medium high and let boil for 3-4 minutes until thick. Let sauce cool before pouring on cheesecake. Top with fresh raspberries. 


Tuesday, November 20, 2012

Best Brownies

I know the adjective "best" is a dangerous one. Especially when it comes to food. Because food is such a personal thing and preference has more to do with it than any of the ingredients in a recipe. So let me rename this recipe. Best Combination Fudgy Brownies with Rich Frosting That I Have Made. There, that is a little harder to argue with.


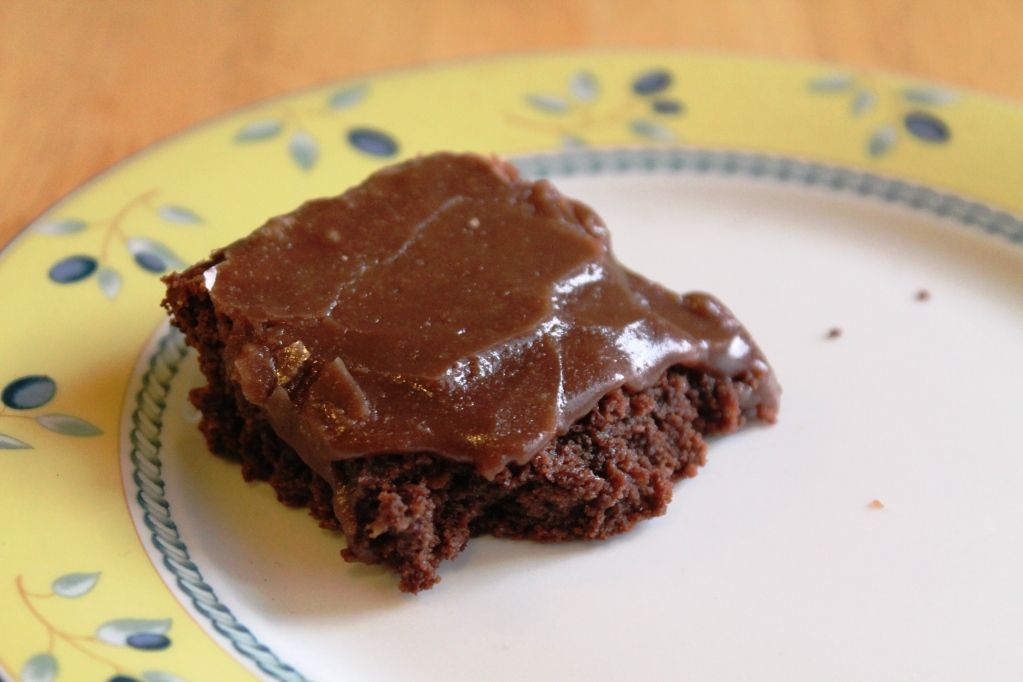
But really. These are some good brownies. And make sure to use the frosting (see revised title). They are so rich, I can't eat more than one. They are made in a saucepan, which is kind of unique. But they are not difficult, so don't get nervous.


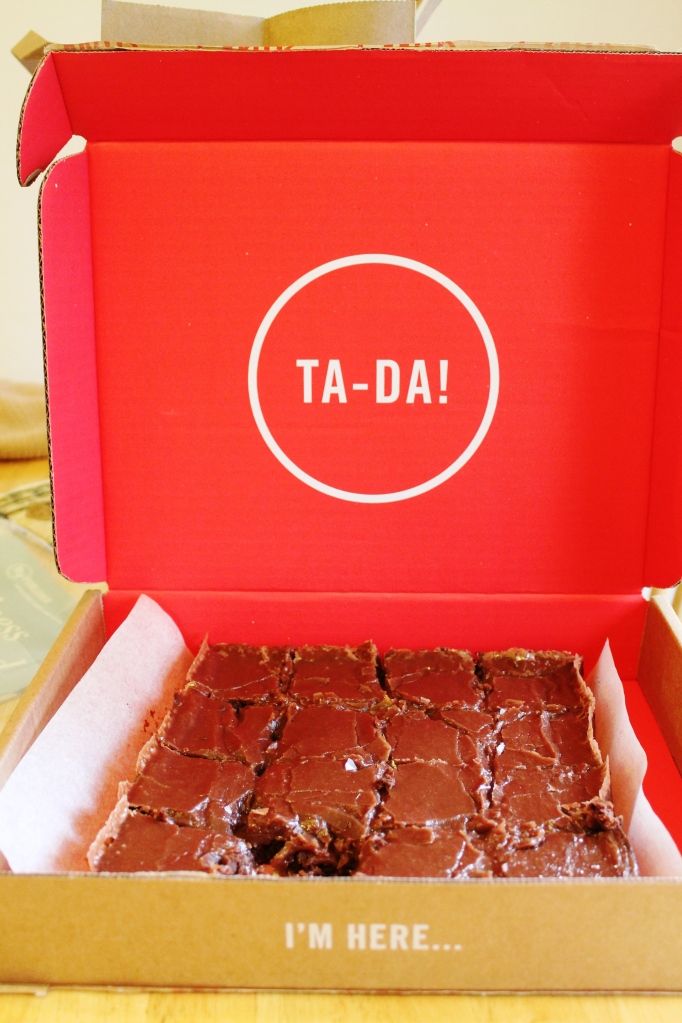
I made these to bring to an event. I brought them in the cutest box (a box I saved after getting a package in the mail because I knew this box would be perfect to carry baked goods) and they were a big hit.


For Brownies:
1/2 cup butter
 1 cup white sugar
 2 eggs, beaten in separate bowl
 1 teaspoon vanilla extract
 1/3 cup unsweetened cocoa powder
 1/2 cup all-purpose flour
 1/4 teaspoon salt
 1/4 teaspoon baking powder

For Frosting:
½ cup butter
2 Tablespoons cocoa powder
3 Tablespoons milk
1 teaspoon vanilla
3 cups powdered sugar (I think… I just dumped it in from the bag)


Preheat oven to 350 degrees F (175 degrees C). Grease and flour an 8 inch square pan.
In a large saucepan, melt butter. Remove from heat, and stir in sugar and vanilla. Add a few spoonfuls of the hot butter/sugar mixture to the eggs in a separate bowl, beat. We do this to slowly heat up the eggs. If we add the eggs to the pan right away, we would get scrambled eggs. Once eggs are warmer, slowly beat them into the butter/sugar mixture in the saucepan. Beat in cocoa, flour, salt, and baking powder. Spread batter into prepared pan.
Bake in preheated oven for 25 to 30 minutes. Do not overcook.

For Frosting:
 Using a clean saucepan, melt butter. Add cocoa and let boil for 30 seconds. Remove from heat and add milk and vanilla. Stir in powdered sugar a cup at a time until you get a smooth mixture. It will not be stiff like a normal frosting, it will look more like hot fudge. Pour over warm brownies. Eat warm if you want a delicious mess, or let it cool for an hour. 

Friday, September 21, 2012

German Chocolate Brownies

I work out so that I can eat more. It is probably counter productive, but it makes me feel better. I am taking a weight lifting class this semester and loving it. If I am sore after class I feel like I have worked hard and deserve a brownie. If I am sore all weekend, well then I deserve brownies all weekend. And if they happen to be rich, coconuty, and wonderfully chocolate brownies, all the better.


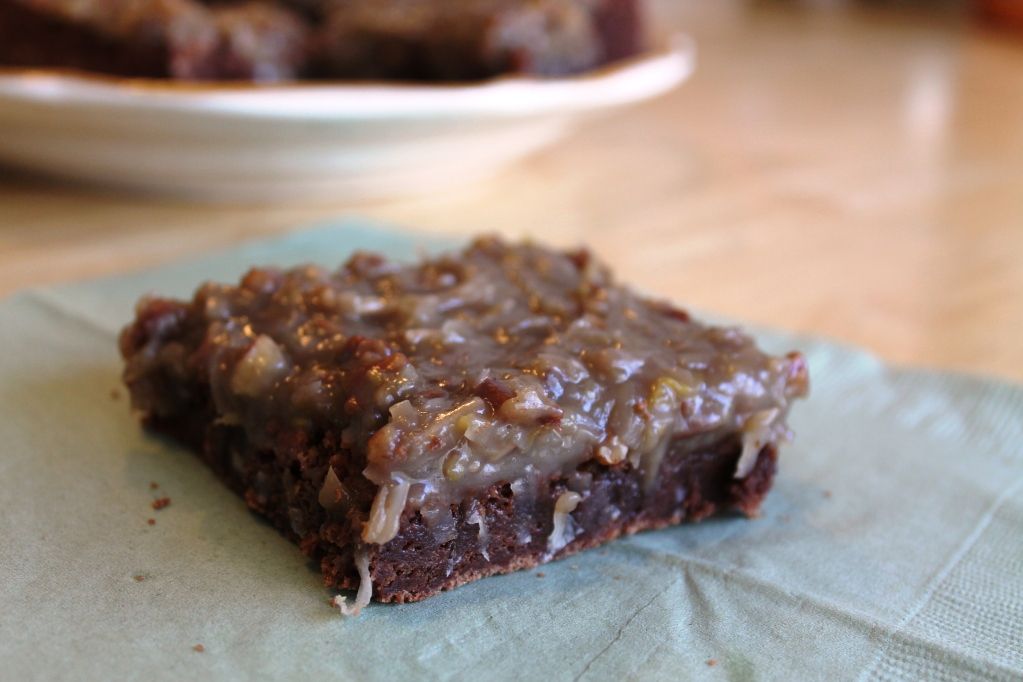
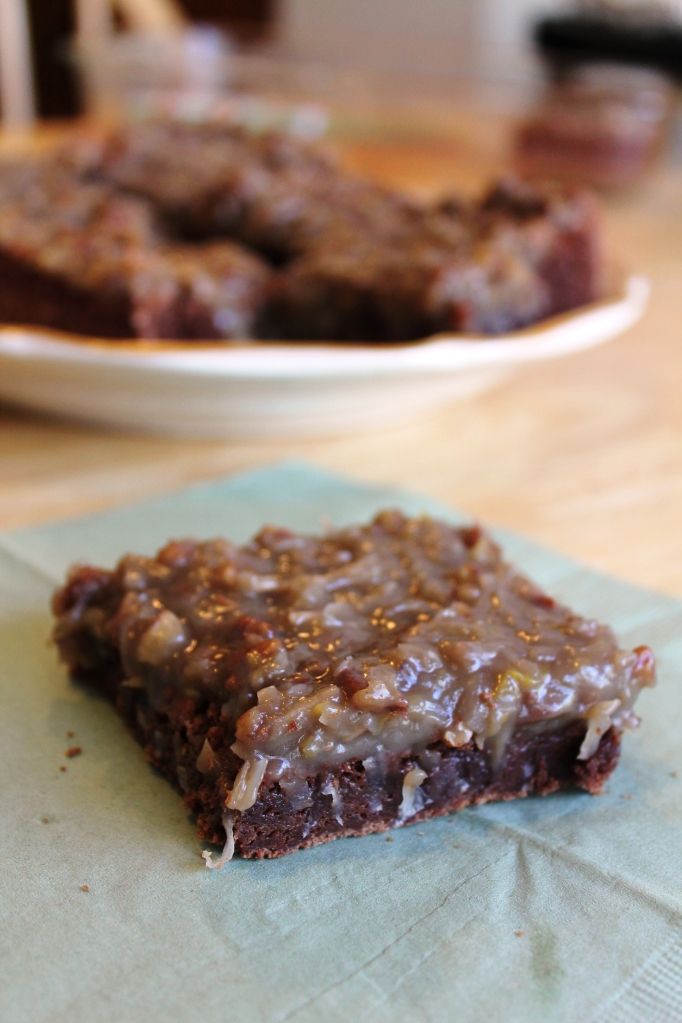
These brownies are truly superb. If you are a German chocolate cake fan, you need to give these a try. And if you like brownies and aren't allergic to nuts or coconut, you too should try them out. They do take a little bit of time, but are definitely worth it.


For Brownies:
½
½
cup semi sweet chocolate chips
cup milk chocolate chips
½  
cup butter or margarine
1 ¼
cups flour
1
cup sugar
1
teaspoon vanilla
½
teaspoon baking powder
½
teaspoon salt
3
eggs, beaten
1
cup semisweet chocolate chips (6 oz)
½
cup chopped walnuts (optional)


Heat oven to 350°F. In 3-quart saucepan, melt 2 cups chocolate chips and the butter over low heat, stirring constantly; remove from heat. Stir in flour, sugar, vanilla, baking powder, salt and eggs. Spread batter in ungreased 13x9-inch pan.
Bake 27 to 34 minutes or until center is set. Cool completely, about 1 hour.

For Frosting:
1 cup evaporated milk
 1 cup sugar
½ cup butter
1 teaspoon vanilla
3 egg yolks
Mix the above ingredients and cook over medium heat, stirring constantly, until thick then add:
1 cup chopped walnuts or pecans
2 cup shredded coconut 


Thursday, June 21, 2012

Baked French Toast


I got up at 6 this morning. I know that may not seem so very early to some of you. But for someone who normally rolls out of bed 20 minutes before she needs to leave for work, it was pretty early.


And why, might you ask was I up and about at such an hour? Baked French Toast. That's why. Warm and crunchy with caramel and nuts, it tastes like heaven. Or at least that is what Matthew said when he tried a piece. He also stated, quite accurately, that something this good has to be bad for you.

He was right. This recipe is far from healthy. It is drenched in caramel after all. But is is oh so delicious.


We start with some french bread. Sliced and arranged oh so beautifully in a 9X13 pan. Now if you have lots of time, just let it sit out for a day or so and get nice and stiff. Or, if you are in a bit more of a rush, stick it in the oven for 7 minutes at 400 F to toast it.


In a bowl whisk together your eggs, milk/ cream, vanilla and cinnamon. Or if you forgot to whisk in the cinnamon (me), just sprinkle it on top


Pour egg mixture over toasted bread, covering each slice as completely as possible. Some of the liquid will pool at the bottom, don't worry it will soak up.
Let the toast sit for a few hours, or ideally overnight.

In the morning, pop it in the oven (covered in tinfoil) for 20 minutes. While it is cooking, mix up your caramel until big and bubbly. After 20 min pull out the pan, pour on your caramel, sprinkle with nuts and stick it back in the oven for another 20 (uncovered). Enjoy!


Baked French Toast
Adapted from Allrecipes.com

1loaf French bread
6 eggs
1 ½ cups milk or half and half
2 tsp vanilla
1-2 tsp cinnamon

Slice bread, arrange in 9x13. Toast in oven for 7 min at 400 F. Whisk eggs, milk, vanilla, and cinnamon. Pour over bread. Let sit overnight. I flipped the bread over after a few hours to let the other side soak up some egg stuff.
Preheat oven to 375 F. Bake for 20 minutes covered with tinfoil. Start caramel mixture.

½ cup butter
1 cup brown sugar
1 ½ Tbsp light corn syrup
½ cup nuts (pecans, walnuts, ect)

Mix butter, sugar and syrup in saucepan. Bring to a boil and stir for 1 minute. Pour over French toast. Sprinkle with nuts. Return pan to oven, uncovered for 20 more minutes.

Voila. Deliciousness. 

And here is a shot of real life. Where I put baked French Toast on my porch to take pictures because that is where there was the best light at 7am.